Vintage oil rain lamps, with their mesmerizing cascades of "raindrops," are timeless pieces of decor that evoke a sense of nostalgia and charm. However, over time, these lamps can accumulate dust, grime, and residue, detracting from their beauty and functionality. In this comprehensive guide, we'll walk you through the process of cleaning and restoring your vintage oil rain lamp to its former glory, ensuring it continues to captivate for generations to come. Let's dive in!
-
Gather the Necessary Supplies
Before starting the cleaning process, gather the following supplies:
- Soft microfiber cloths
- Mild dish soap
- Warm water
- Cotton swabs
- Toothpicks
- Isopropyl alcohol (70% or higher)
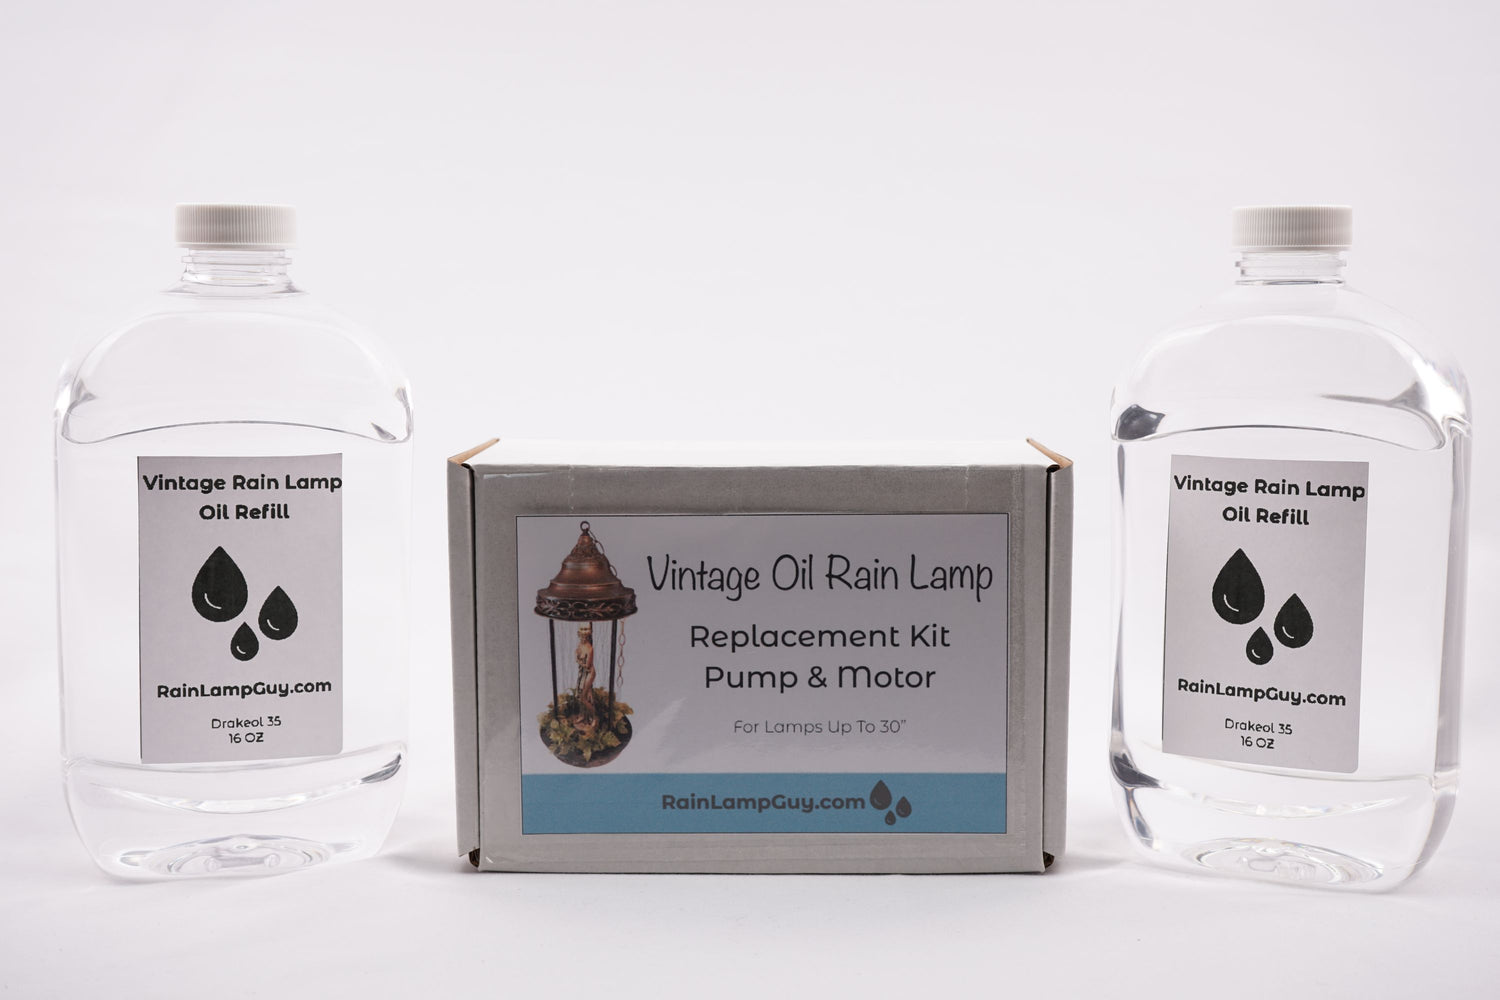
- New rain oil from RainLampGuy - Oil Refill Kits
- Disassemble the Lamp Safely
To begin, ensure the lamp is unplugged and completely cooled down. Carefully detach the bottom reservoir, typically held by screws or clips. Lay out the pieces on a soft, clean surface to avoid scratches or damage.
- Clean the Exterior
Using a soft microfiber cloth, wipe down the exterior of the lamp and the reservoir to remove surface dirt and dust. Avoid using harsh chemicals or abrasive materials as they may damage the lamp's delicate finish. If there are stubborn spots, dampen the cloth with a mixture of warm water and mild dish soap or baby shampoo, gently wiping away the grime.
- Clean the Raindrop Lamp Strings
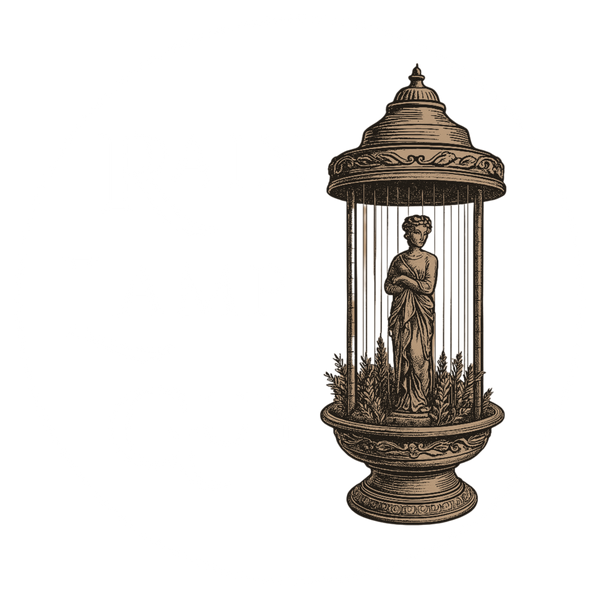
The mesmerizing "raindrops" the lamp produces are pumped from the bottom oil reservoir to the top reservoir. Once the oil enters the top reservoir the oil starts to slowly drop through the oil funnels or rivets, down the rain lamp's strings, which can accumulate oil and dust over time. Dip a soft cloth in a mixture of warm water and mild dish soap, then gently wipe each string to remove the buildup. For hard-to-reach spots, use cotton swabs moistened with soapy water.
- Remove Residue from the Oil Funnel
If the oil funnels have residue or clogs, use a toothpick to carefully dislodge any buildup. Avoid using excessive force to prevent damage. Once cleared, rinse the funnels with warm water and dry them thoroughly.
- Clean the Interior of the Reservoir
Over time, the interior of the reservoir can accumulate oil residue and impurities. To clean it, fill the reservoir with warm water and a small amount of mild dish soap. Gently swish the mixture around, ensuring it covers all surfaces. Rinse the reservoir thoroughly with clean water to remove any soap residue.
- Addressing Stubborn Stains
For persistent stains or mineral deposits on the raindrop chains and interior of the reservoir, use a cotton swab soaked in isopropyl alcohol to gently rub the affected areas. This will help dissolve the stubborn residues without damaging the lamp.
- Dry and Reassemble
After cleaning, allow all parts of the lamp to air-dry completely to prevent moisture-related issues. Once everything is dry, carefully reassemble the lamp, ensuring each piece fits snugly and securely.
- Refill with Oil and Test
Finally, fill the reservoir with fresh, rain oil, leaving some space at the top for proper circulation. RainLampGuy Oil Refill Kits are the most popular and best performing rain oil for vintage oil rain lamps. Plug in the lamp and switch it on to test its functionality and to admire its rejuvenated beauty.
Cleaning and restoring a vintage oil rain lamp requires patience and attention to detail, but the end result is well worth the effort. By following this step-by-step guide, you can bring new life to your treasured lamp and ensure it continues to cast its enchanting raindrop cascade for years to come. Remember to clean the lamp regularly to maintain its allure and to preserve it for future generations to enjoy. Happy cleaning!

