Replacement Pump Quick Install Guide
Thanks for purchasing from our store! We truly appreciate you!
If you have any questions regarding the installation feel free to email us! We are capable of answering questions in regards to a typical rain lamp so some tips and answers we give may need to be adjusted for a specific lamp. The instructions below are generalized for most standard oil lamp construction. If your oil lamp differs, you may need to do additional research or send us photos!
You can reach us anytime at RainLampRepairs@gmail.com
You can also reach us on Facebook messaging, eBay messaging, or by simply following the button below!
Replacement Pump Quick Install Guide
Disconnecting The Old Pump
1) With your lamp unplugged, you can start draining the existing oil. To drain an oil lamp, you will need to unscrew the 3-4 screws that are securing the bottom tray of the lamp. Make sure you are at a table, where the bottom tray is stable to ensure that the tray doesn't fall and spill the oil.
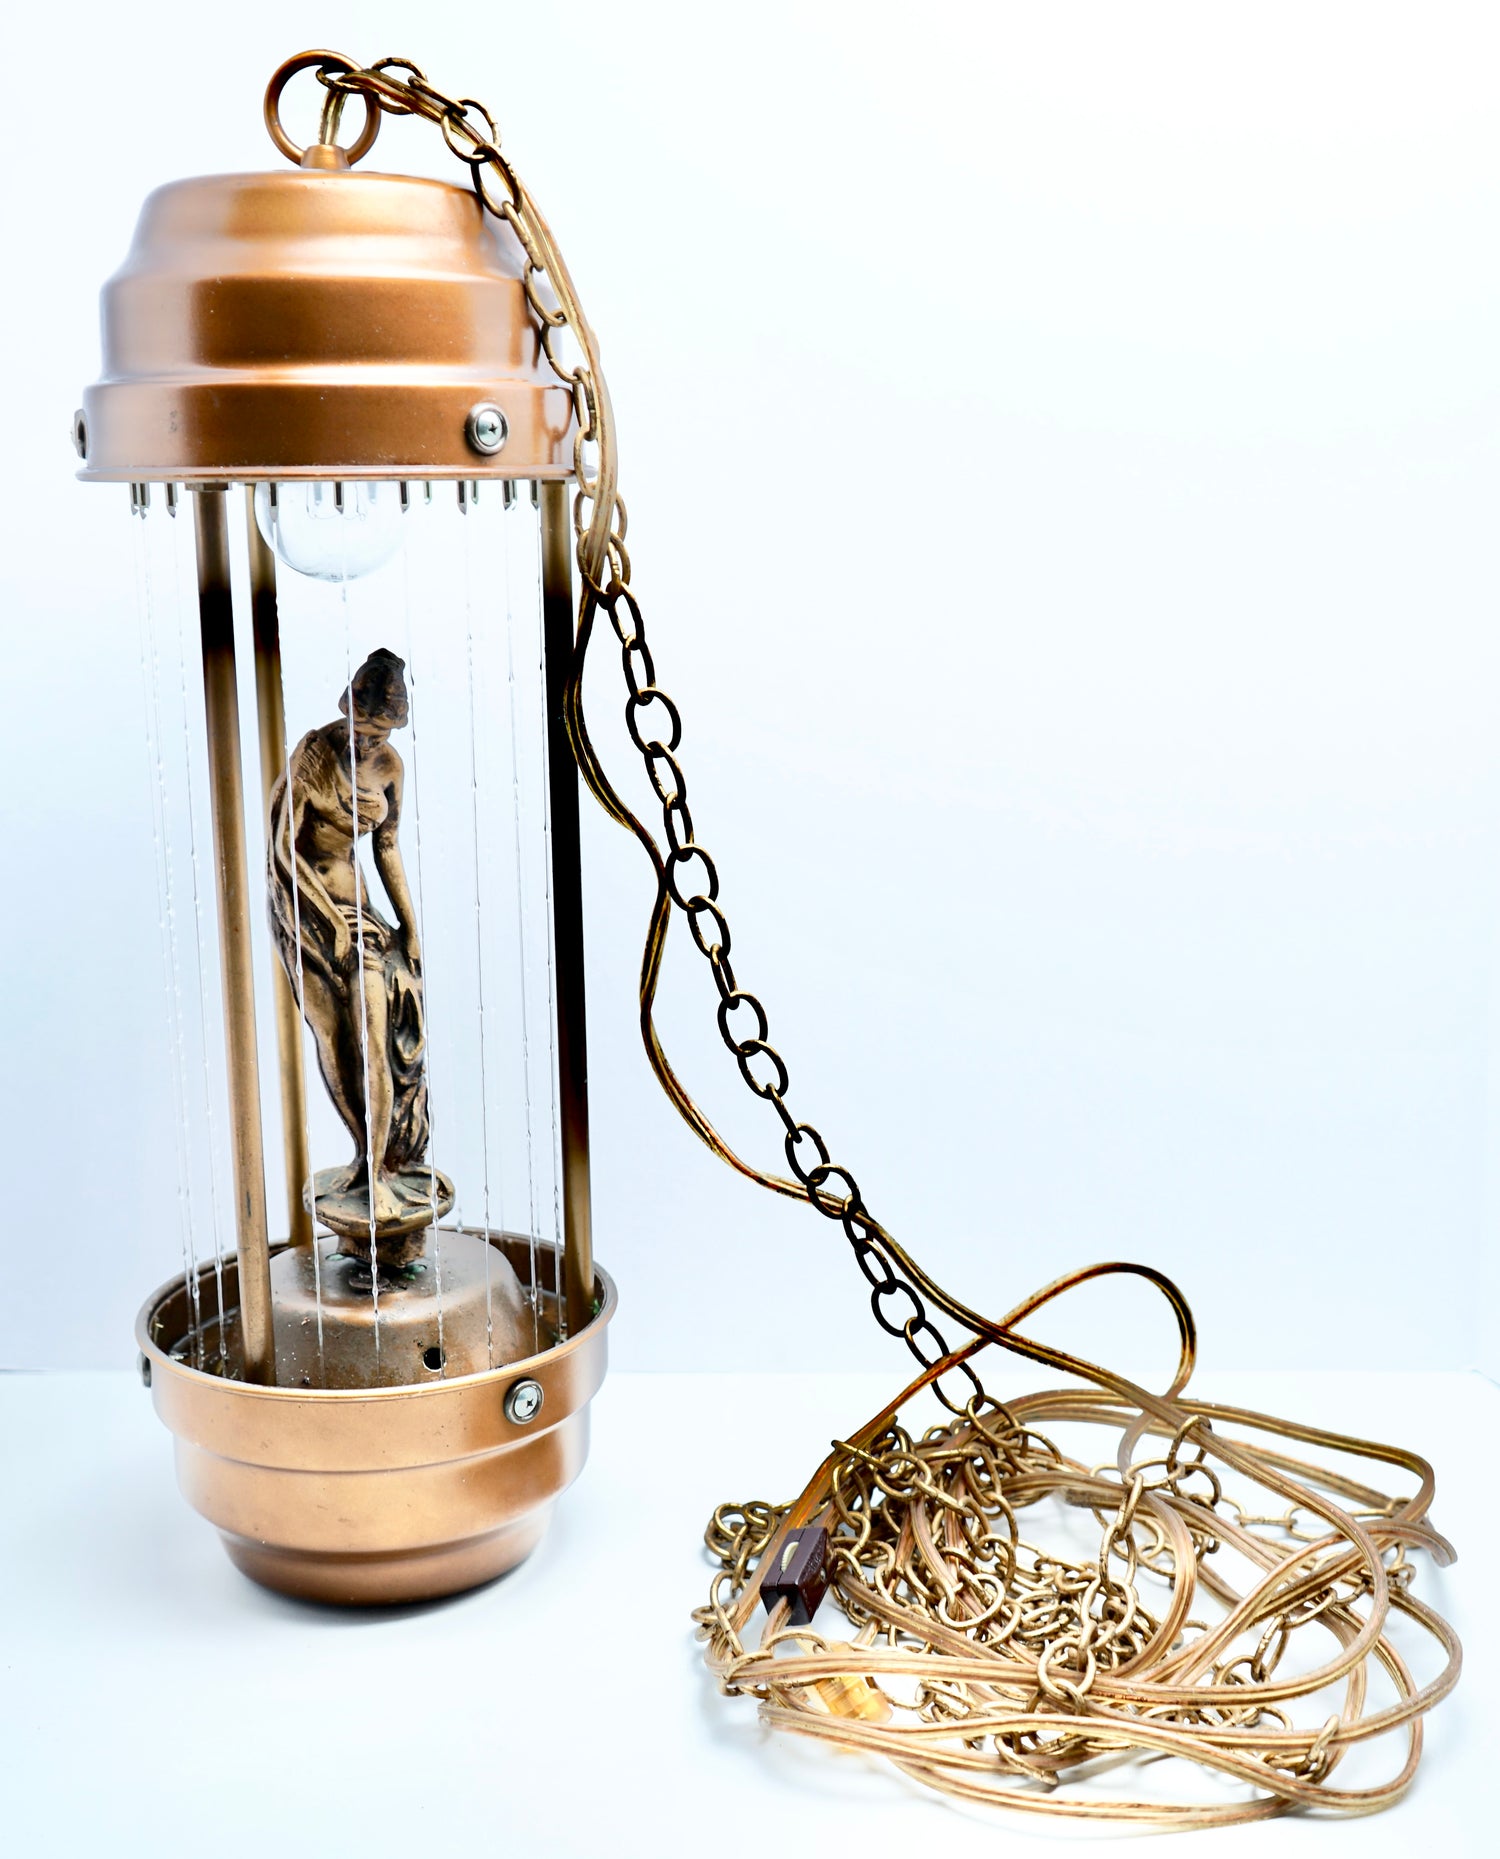
2) With the oil drained, you can remove the 3-4 screws that are securing the top tray of the lamp. Very similar to the bottom tray in Step 1. When you remove the top tray, be aware that the light bulb will be screwed into this tray. You will need to pull the lightbulb through the opening while removing the tray.
You should now have your oil lamp in three parts. The top tray, bottom tray, and the main display piece that was in the middle of each tray. All three parts should be connected with a cable that is running from the top tray, down one of the middle section tubes, and connects to the existing pump inside the bottom tray.
3) You will need to disconnect the wiring that is running up the tube from the bottom tray into the top tray. Normally this is wired to the lighting fixture with wire nuts or splice connectors. You should disconnect the existing connection by unscrewing the wire nuts or cutting the splice connectors at both ends.
4) After you have disconnected the existing pump wiring, you will need to fish the wiring through the tube towards the bottom tray. This will free up all three pieces of your oil lamp.
5) Next, you will need to unmount the existing pump. This varies from pump to pump. Some pumps are connected to the bottom of the centerpiece, while others are free-floating in the bottom tray. Study the design of your oil lamp to determine the best way to remove the existing pump. This may require a screwdriver if the pump is mounted. You will also need to unhook the clear tubing that is connected to the existing pump. This is the tubing that the pump sends the oil through!
Installing The New Pump!
6) Take the new pump, and place the pump in the base of the bottom tray. The new pump has suction cup feet to help with stability and placement. Once you have the new pump placed, you will need to connect the clear tubing that you previously disconnected. This tubing needs to be pressed firmly onto the black tube protruding from the top of the new pump. We have placed two tube extensions with your order, this helps to fit a variety of tube sizes. Pick the appropriate tube extension that will have the best seal with your lamp's tubing.
7) Fish the new wiring through an empty tube of the middle section. Once you have the wiring on the other side, you will begin connecting it to the lamp's lighting harness. We have pre-stripped the new wiring for a quicker installation! You can remove the rubber tip of the wires to reveal the bare wiring.
8) To begin wiring, we have included two wire nuts. You will connect one wire of the pump to the BLACK wire of your lamp, tighten a wire nut over the new connection. Take the remaining pump wire and connect it to your lamps WHITE wire, tighten a wire nut over the new connection. To make sure your wires are connected properly, slightly tug on each wire coming out of the wire nuts. They should be secure and not easily pull out.
9) With the pump wiring connected, you can now secure the top tray with the 3-4 screws that you took out in earlier steps. You will do the same with the bottom tray. ENSURE that you do not kink the clear line(s) that are connecting the pump to the line that is sending oil to your lamp.
10) With both the bottom tray and top tray secured, please plug up your lamp to test. DO NOT LEAVE THE LAMP PLUGGED UP. Ensure that your lamp lights up and that you can hear a slight humming from the bottom tray. Unplug the lamp.
11) If the light works and you hear a slight hum, you can begin filling your oil lamp with oil! You will need to make sure that you are filling the lamp with enough oil to fully submerge the new pump.
If you did not hear a slight hum from the pump, please UNPLUG the lamp and check the wiring. Ensure that all connections are secure and not loose.
TIPS FOR A SMOOTH INSTALL!
- The pump may run a little loud and produce grinding noises for the first 10-15 minutes. This is normal! This is the pump priming itself with the oil, and getting all air bubbles out. As long as the pump is fully submerged in oil, the pump will quiet down to a very low hum once it's primed and has no remaining trapped air.
- If you need additional clear tubing you can find it at most any big-box store such as Wal-Mart, Lowes, or Home Depot. Most commonly used tubing for oil lamps is aquarium tubing!
- If the oil is not flowing enough or too much, you can adjust the flow rate of this model pump! On the pump itself, you will find a moveable disk on the front of the pump. This disk allows you to increase or decrease the amount of oil entering the pump at any time. This allows you to fine tune the pump performance for your specific pump!

